

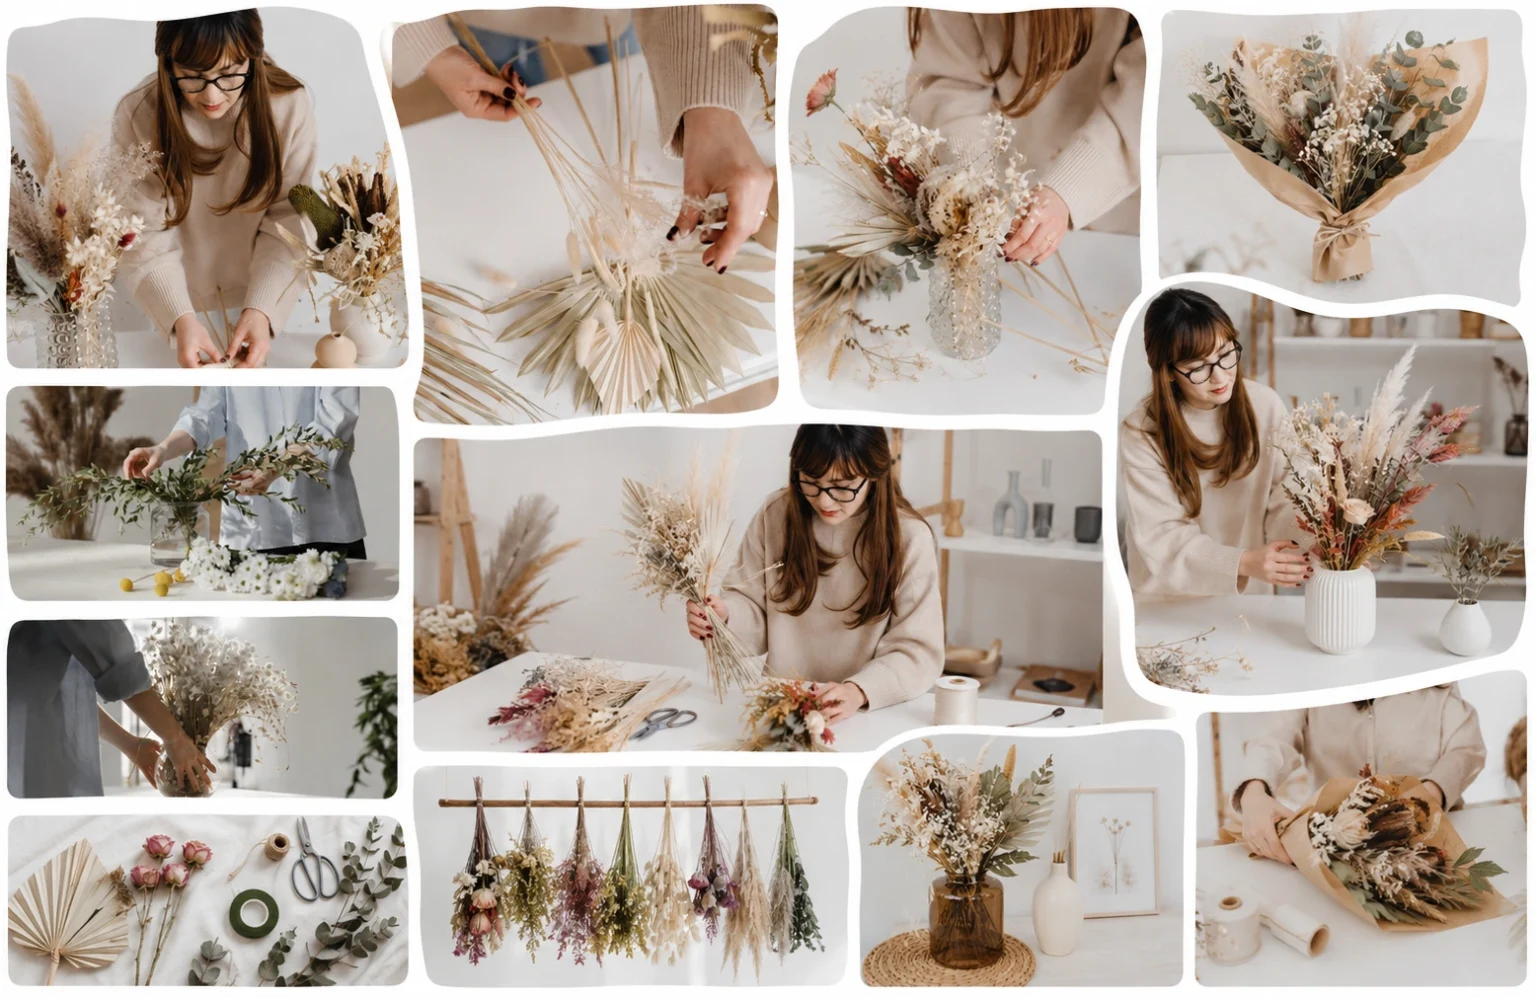
Learning how to dry flowers at home is a simple way to save blooms that would otherwise wilt and be thrown away. You can dry flowers from your garden, a birthday bouquet, a family event, or a bunch bought from a local shop.
The finished flowers can become wall art, greeting cards, wreaths, bookmarks, table decorations, or small keepsakes. You do not need costly tools or professional flower skills to get good results.
The most important parts are choosing the right flowers, starting before they wilt, removing moisture fully, and storing them away from damp air and strong sunlight. This FsiBlog article idea by Guzel Musina explains each step in plain English, including mistakes that can spoil the flowers.
Why Drying Flowers Is Worth Trying
Fresh flowers can make a room feel brighter, but their life in a vase is often short. Drying allows you to keep part of their colour, shape, and meaning for much longer.
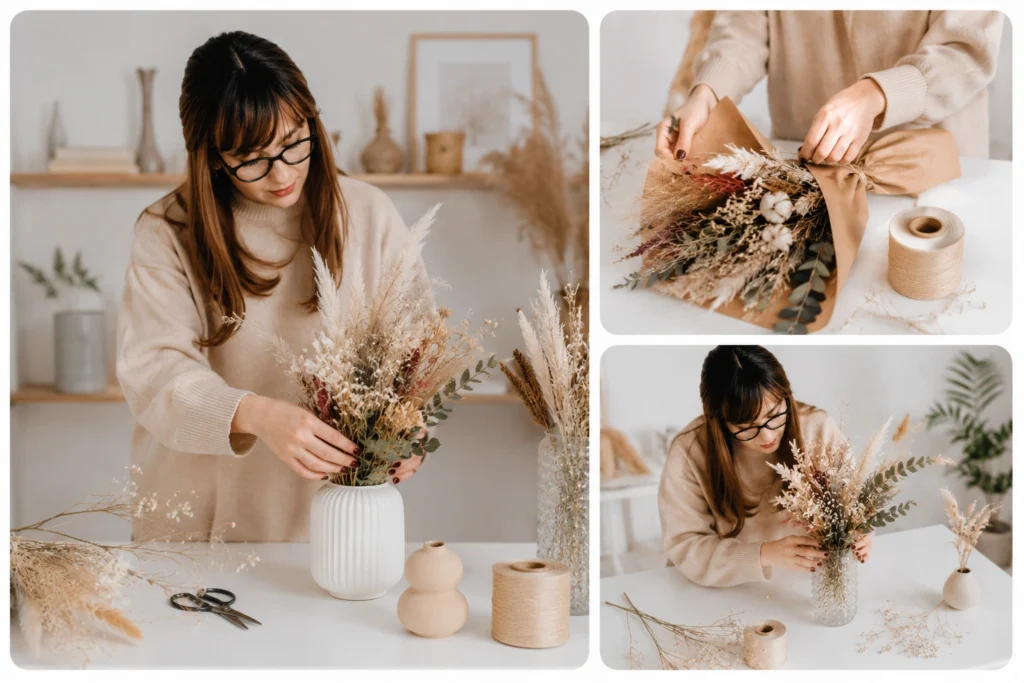
The flowers will not look exactly as they did when fresh. Some colours become softer, petals may shrink, and stems can become more fragile. These changes are normal and often give dried flowers their warm, natural look.
Drying flowers can also reduce waste. A bouquet that has started to age may still contain several healthy blooms that can be saved before the petals fall.
We often suggest using natural items to make a home feel personal. Our article on creating a cosy living environment explains how flowers, plants, wood, and simple textures can make a room feel warmer without filling it with costly decorations.
Pick Flowers That Are Still in Good Condition
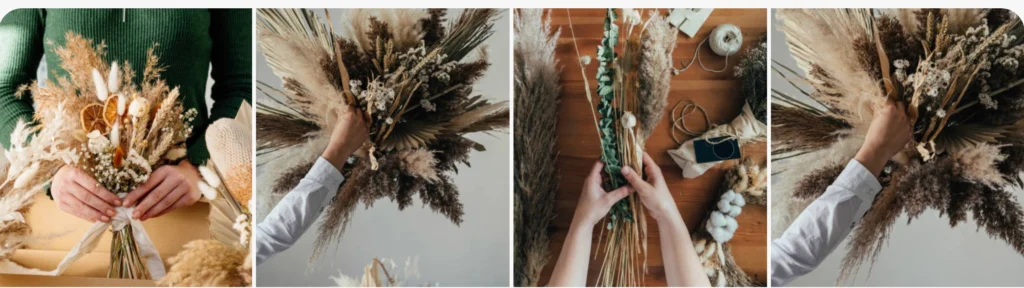
The drying process cannot repair a flower that is already badly bruised, brown, wet, or falling apart. Start with the healthiest blooms you can find.
The Royal Horticultural Society’s advice on drying flowers and foliage says that good-quality plant material gives better results because drying cannot improve a poor bloom.
Do not wait until the whole bouquet has wilted. Check it each day and remove flowers for drying while the petals are still firm.
Flowers from a garden are best collected on a dry day. Rain, morning dew, and water left between petals can slow the process and raise the chance of mould.
If you are growing your own flowers, FsiBlog’s indoor gardening tips for beginners may help you build simple plant-care habits before choosing blooms to preserve.
Which Flowers Dry Well at Home?
Some flowers hold their shape and colour much better than others. Flowers with strong stems, firm petals, or naturally dry textures are often easier for beginners.
Large, soft, watery blooms can still be preserved, but they may need silica gel instead of simple air drying.
| Flower or Plant | Method That Often Works Well | Likely Finished Look |
|---|---|---|
| Roses | Air drying or silica gel | Smaller bloom with a soft, classic shape |
| Lavender | Air drying | Good colour, thin stems, and a light scent |
| Hydrangeas | Air drying in a vase or upside down | Full, papery flower heads |
| Strawflowers | Air drying | Strong colour and firm petals |
| Celosia | Air drying | Textured shape with rich colour |
| Baby’s breath | Air drying | Light, delicate filler for arrangements |
| Pansies | Pressing | Flat flowers with clear petal patterns |
| Daisies | Pressing | Simple shapes for cards and frames |
| Fern leaves | Pressing | Fine lines and natural green or brown tones |
| Peonies | Silica gel | Better chance of keeping the round shape |
| Small rosebuds | Silica gel or air drying | Compact flowers for jars and crafts |
| Eucalyptus | Air drying | Curved leaves with a soft grey-green tone |
The Missouri Botanical Garden notes that flowers such as pansies, sweet peas, larkspur, and Queen Anne’s lace can work well for pressing. It also recommends checking the flowers until all moisture is gone.
Do not be afraid to test one or two blooms before drying a whole bouquet. Flowers of the same type can react differently depending on their age, petal thickness, and growing conditions.
Gather a Few Simple Supplies
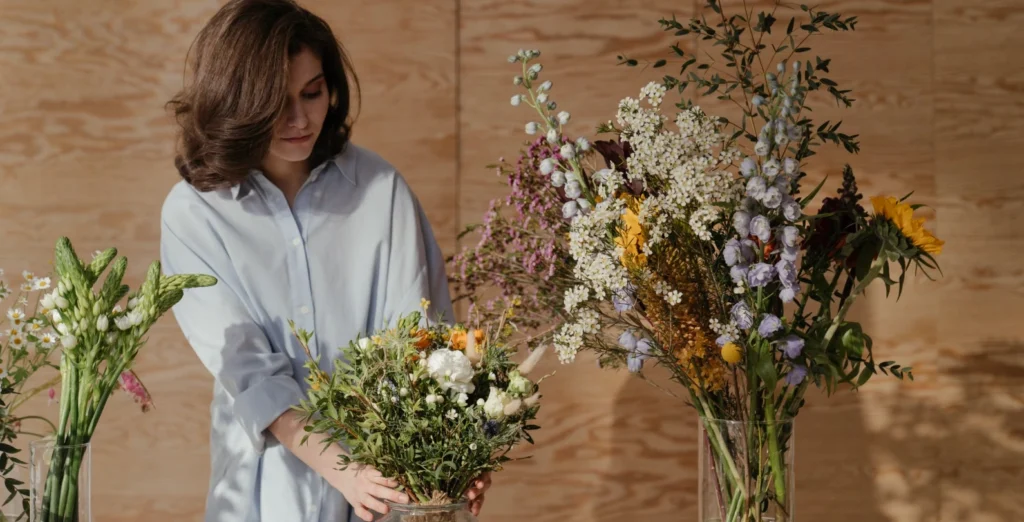
You do not need to buy every tool at once. Choose the drying method first, then collect only what that method requires.
Useful items include:
- Clean scissors or garden snips
- String, cotton thread, or rubber bands
- A clothes hanger, hook, or drying rail
- Plain absorbent paper
- Heavy books or a basic flower press
- An airtight container for silica gel drying
- Craft silica gel made for drying flowers
- Small labels and a pen
- Tweezers for handling fragile petals
- Cardboard boxes or flat folders for storage
Keep your work area dry and clean. A kitchen table is fine for pressing, but hanging flowers need a place where they will not be bumped.
Remove dead leaves, damaged petals, insects, and extra dirt before you begin. Do not soak decorative flowers in water before drying them, as extra moisture makes the job harder.
How to Dry Flowers at Home by Air Drying
Air drying is one of the easiest methods and needs very little equipment. It works best for flowers with firm stems and shapes that do not collapse easily.
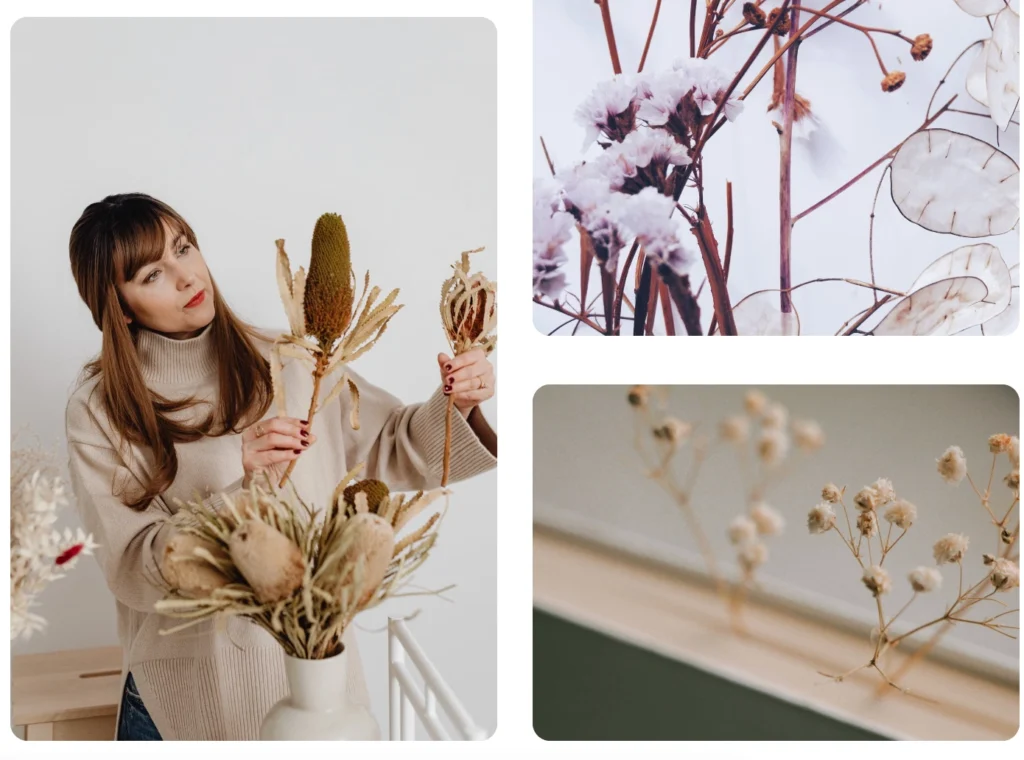
The New York Botanical Garden describes air drying as the easiest general flower-drying method. Its instructions suggest removing leaves and tying a small group of stems together.
Prepare the Stems
Cut away leaves from the lower part of each stem. Leaves hold moisture and can crowd the bundle, which slows drying.
Keep enough stem length for the final project. Long stems are useful for bouquets and vase displays, while shorter stems are fine for wreaths or small arrangements.
Separate very thick bunches into smaller groups. A tight bundle may look neat, but the stems in the middle can remain damp.
Tie Small Bundles
Place three to six similar stems together. Tie them near the cut ends with string or use a rubber band.
Rubber bands can be helpful because stems become thinner as they lose water. The band may continue to grip them as they shrink.
Do not crush the stems by tying them too tightly. You only need enough pressure to stop them from slipping out.
Hang the Flowers Upside Down
Hang each bundle with the flowers pointing toward the floor. This position helps the stems remain fairly straight and reduces drooping.
Choose a dry room, cupboard, spare room, or covered area with gentle air movement. Keep the flowers away from direct sunlight, cooking steam, showers, and damp laundry.
Strong sunlight can fade colour. A dark or shaded room is often a better choice when colour matters.
Leave Enough Space Between Bundles
Do not press several bunches against each other. Air needs to move around the petals and stems.
Check them every few days without squeezing the flowers. Depending on the flower, room, and weather, drying may take one to several weeks.
They are usually ready when the petals feel dry and papery, the stems feel firm, and no cool or soft areas remain.
How to Press Flowers With Books
Pressing is best when you want flat flowers for art, cards, bookmarks, gift tags, or a plant journal. Thin flowers usually press more evenly than thick, round blooms.
The Smithsonian uses pressed plant specimens in herbarium collections and encourages recording details such as the date, plant colour, and collection place. You can use the same idea at home to make your pressed flowers more meaningful.
Choose Flat or Thin Flowers
Pansies, small daisies, violets, single petals, small leaves, and thin ferns are good starting choices.
Very thick centres hold moisture. You can remove the thick part, separate the petals, or choose a smaller bloom.
Do not press flowers that are wet from rain or a vase. Pat away surface moisture and allow the outside to dry first.
Arrange the Flower Before Closing the Book
Place a sheet of plain absorbent paper inside a heavy book. Put the flower on the paper and gently move the petals into the position you want.
Remember that the final flower will keep this flat shape. Take a little time to separate folded petals and straighten leaves.
Place another sheet of paper over the flower. Close the book slowly so the flower does not slide.
Add Weight and Leave It Alone
Put more heavy books on top. Keep the stack in a dry place where it will not be moved every day.
Do not keep opening the book during the first few days. Moving a partly dried flower can tear petals or change the shape.
The paper absorbs moisture, so replacing damp sheets may help with thicker flowers. Handle the flower carefully when making the change.
Drying can take a few weeks. The flower should feel flat, firm, and fully dry before you use glue or place it inside a frame.
How to Dry Flowers With Silica Gel
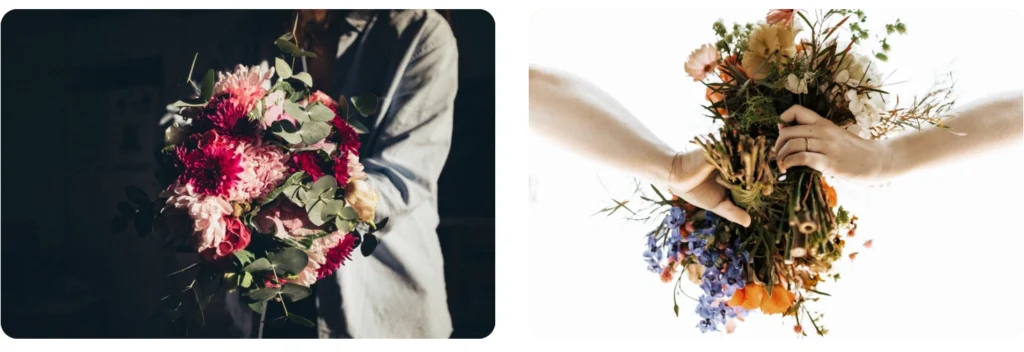
Silica gel can help flowers keep more of their natural three-dimensional shape. It is often used for roses, peonies, dahlias, and other full blooms.
The University of Missouri Extension’s flower-drying advice explains that silica gel absorbs moisture quickly and can be reused when handled according to the product directions.
Use the Correct Product
Buy silica gel labelled for flower drying or craft use. Do not tear open tiny packets found in shoe boxes, medicine bottles, or food packaging to fill a craft container.
Choose a container with a tight lid. It needs to be deep enough for the flower without bending the petals.
Pour a shallow layer of silica gel into the bottom. Place the flower on top, then slowly add more gel around and over the petals.
Move slowly so the weight of the crystals does not flatten the bloom. Support spaces between petals as you pour.
Keep the Container Closed
Seal the lid and place the container somewhere safe. Check the drying time given on the silica gel package because large and small flowers do not dry at the same speed.
When the flower is ready, pour away the crystals slowly. Use a soft brush or gentle air to remove small grains from the petals.
The finished flower will be dry and fragile. Lift it from the base rather than pulling a petal.
Handle Silica Gel Carefully
Poison Control says silica gel is usually considered non-toxic, but its dust can irritate the eyes, skin, or breathing passages. Packets and loose material can also be a choking concern for small children. Keep the container closed, avoid breathing dust, and store the material away from children and pets.
Follow the product label when drying or reusing the crystals. Do not use food containers for eating again after they have been used for craft materials.
How to Choose the Right Drying Method
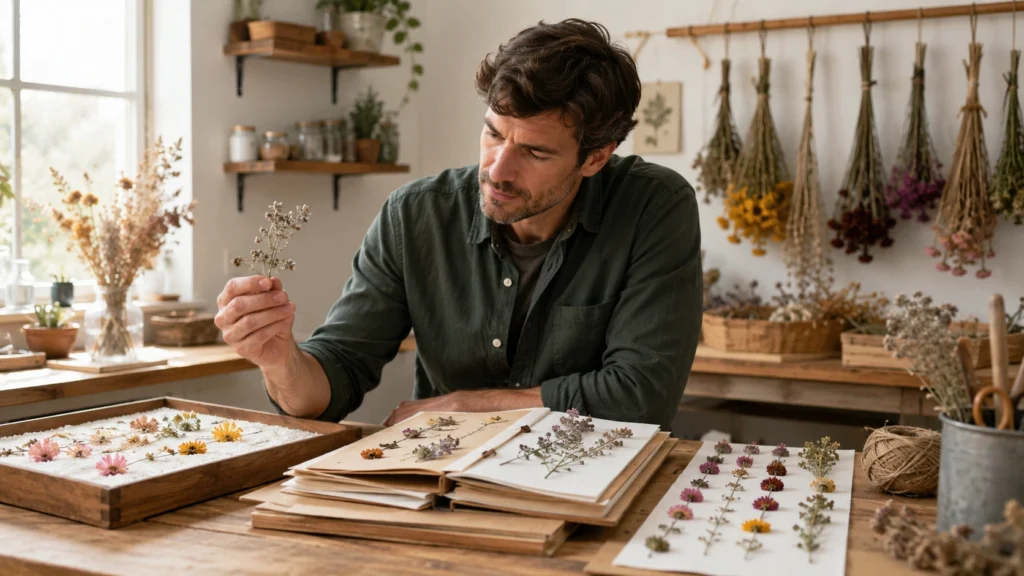
The best method depends on the shape you want and what you plan to make later.
| Your Main Goal | Best Starting Method | Important Point |
|---|---|---|
| Keep long stems for a vase | Air drying | Hang small bundles upside down |
| Make flat wall art | Pressing | Arrange every petal before adding weight |
| Keep a round flower shape | Silica gel | Cover petals slowly and fully |
| Dry many garden stems cheaply | Air drying | Use a shaded room with good airflow |
| Save tiny flowers for cards | Pressing | Use clean paper to prevent marks |
| Preserve a special rose | Silica gel | Test another rose first when possible |
| Make a rustic wreath | Air drying | Leave enough stem for wiring |
| Start a flower notebook | Pressing | Add names, dates, and short memories |
There is no rule saying you must dry a whole bouquet in the same way. Press a few flowers, air dry the strongest stems, and use silica gel for one special bloom.
This mixed method often saves more of the bouquet and gives you materials for several projects.
Common Flower-Drying Problems
The Flowers Have Developed Mould
Mould usually means moisture remained for too long. The flowers may have been wet, the bundle may have been too large, or the room may have been damp.
Throw away mouldy flowers rather than using them in a decoration. Clean the area and begin again with dry flowers and more space between stems.
The Petals Have Turned Brown
Some browning is natural, especially with pale flowers. Heavy browning can happen when flowers are old before drying or are left in a damp place.
Start sooner next time. Move flowers out of direct sun and use silica gel for blooms that lose colour badly during air drying.
The Flowers Have Lost Their Shape
Flowers may bend when stems are too weak or when the heads are too heavy. Hanging them upside down often gives straighter results.
For thick, round blooms, silica gel may hold the shape better. Pressing is another good choice when keeping the flower round is not important.
The Stems Keep Falling From the String
Fresh stems shrink as they dry. A knot that felt tight on the first day can become loose later.
Check the bundle after a day or two and tighten it gently. Rubber bands can adjust more easily as stems become thinner.
The Pressed Flowers Stick to the Paper
This may happen when the flowers are too wet or when coated, shiny paper is used. Plain absorbent paper is a safer choice.
Wait until the flower is fully dry before lifting it. Use tweezers and work slowly from the strongest part of the stem or leaf.
How to Store Dried Flowers
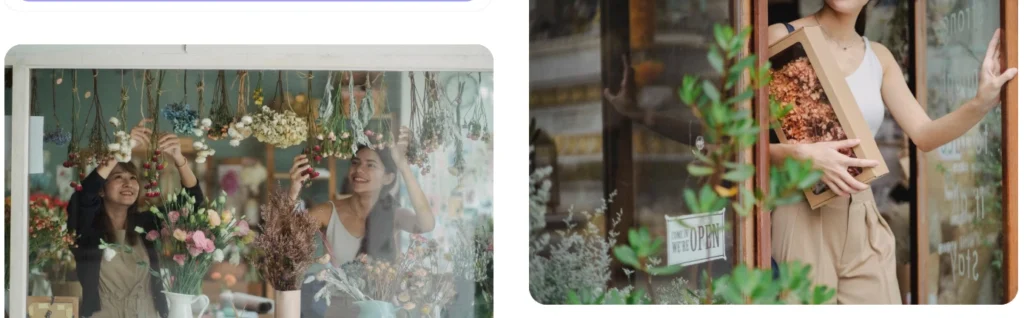
Dried flowers can collect dust, moisture, and damage when left uncovered. Store unused pieces in a dry cupboard until you are ready to make something.
Pressed flowers can be placed between clean paper inside a folder or flat box. Write the flower name and date on the paper so you do not have to handle the petals to identify them.
Air-dried bunches can be wrapped loosely in plain tissue and stored in a box. Do not place heavy items on top.
Keep dried flowers away from bathrooms, open windows during wet weather, and direct sunlight. Strong light can cause further fading.
A labelled craft box makes it easier to separate stems, petals, leaves, and finished pieces. FsiBlog’s home organisation tips include simple ideas for using clear bins, baskets, and storage zones to stop craft supplies from spreading around the house.
Make Framed Pressed Flower Art
A pressed flower frame is one of the easiest projects for beginners. It works well with pansies, daisies, fern leaves, petals, and small stems.
Place the dry flowers on plain paper before using any glue. Try several positions and take a phone picture of your chosen layout.
A simple layout may include one flower in the centre, a small line of flowers across the bottom, or a loose shape made from petals and leaves.
Use tiny dots of clear-drying craft glue. Too much glue can soak through thin petals and leave dark marks.
Allow the page to dry fully before placing it inside the frame. Keep the finished picture away from a window that receives strong sun.
Pressed flower art works well with low-cost frames and reused materials. FsiBlog’s advice on decorating a home on a budget also suggests repurposing frames and making personal wall art instead of buying every decorative item new.
Make Greeting Cards and Gift Tags
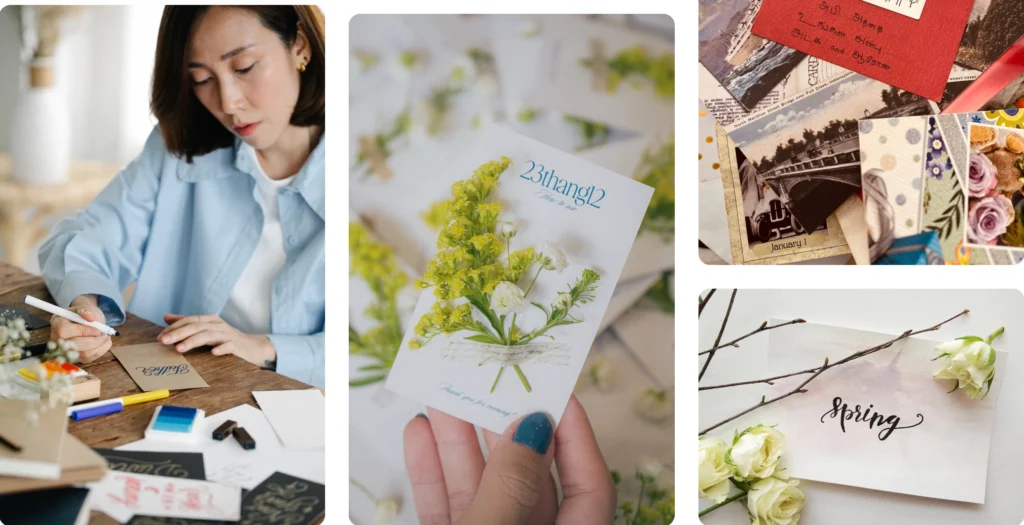
Pressed flowers can turn a plain card into something personal. This works especially well for birthdays, thank-you notes, Mother’s Day, weddings, or small gifts.
Use thick card so it does not bend under the glue. Arrange one or two flowers rather than covering every empty space.
Write the message before attaching very fragile petals. This prevents the pressure of writing from cracking the flowers.
A small pressed leaf or single petal also looks good on a gift tag. Add string after the glue has dried.
Do not mail loose, raised dried flowers without protection. Place tissue over the design or use a padded envelope to reduce damage.
Make a Dried Flower Wreath
Air-dried flowers with firm stems can be attached to a ready-made grapevine or wire wreath base. Lavender, strawflowers, eucalyptus, baby’s breath, and small seed heads often work well.
Start by placing the largest stems around the base without attaching them. This helps you check the balance.
Add the larger pieces first, then use small flowers to fill gaps. Florist wire is often easier to control than thick glue.
Choose one main colour and one supporting colour when you want a calm look. A mixture of natural browns, faded pinks, cream, and soft green can also work well.
Display the wreath indoors or in a covered, dry area. Rain and outdoor moisture will quickly damage it.
Fill Small Jars and Bottles
Short stems and broken flower heads do not need to be wasted. Put them into small glass jars, medicine-style bottles, or simple ceramic containers.
Use odd numbers of stems, such as three or five, for a relaxed arrangement. Keep some stems shorter so every flower can be seen.
A narrow bottle may only need one rosebud and a small piece of dried grass. This is useful when you have very little material.
Place several tiny arrangements together on a shelf, bedside table, or dining area. The flowers can add natural texture without taking over the room.
A floral item from the FsiBlog shop, such as the Floral Wreath Name Cushion, can also sit near a small dried arrangement when you want to repeat the same flower theme through the room.
Create a Flower Memory Box
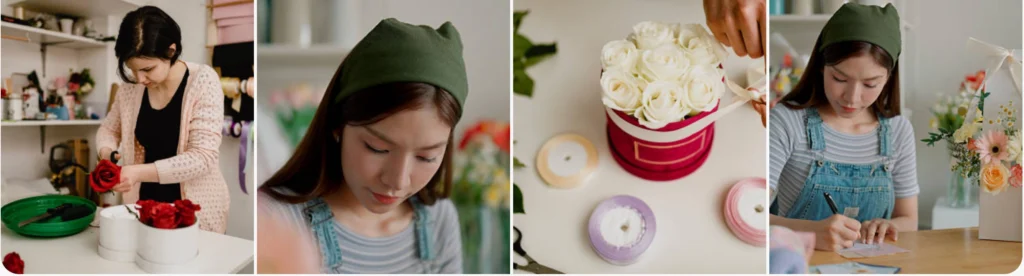
Flowers from a birthday, graduation, family trip, or other important day can become part of a memory box.
Dry one flower, then store it with a card, photo, ticket, ribbon, or written note. Add the date and explain where the flower came from.
Do not place a thick flower into a tightly closed album unless it is fully dry and protected. A small box gives raised blooms more room.
Pressed flowers can also be mounted on card with a short handwritten memory. This may be easier to store than a full bouquet.
The Smithsonian recommends recording collection details for plant specimens. At home, the same habit turns an ordinary dried flower into a clear record of a place, date, and family story.
Start a Home Herbarium Journal
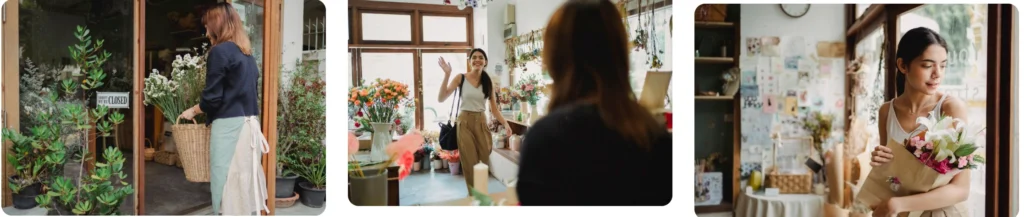
A herbarium is a collection of preserved plants with useful information. Your home version does not need to be scientific or perfect.
Use a notebook, scrapbook, or folder with strong pages. Attach one pressed flower or leaf to each page.
Write the plant’s name when you know it. Add the date, where it grew, its fresh colour, and anything you noticed about the plant.
You might record which drying method worked, how long it took, and whether the colour changed. These notes make future attempts easier.
Never remove protected plants or take flowers from private land without permission. Garden-grown flowers, purchased bouquets, and fallen petals are safer choices for a home collection.
Use Dried Flowers on a Seasonal Table
A few dried stems can make a dining table feel cared for without buying a new centrepiece for every season.
Use pale flowers for spring, bright strawflowers for summer, seed heads and warm colours for autumn, and dried greenery for winter.
Keep the arrangement low enough that people can see across the table. A tall bouquet may look pretty but can make conversation difficult.
Remove loose petals before placing food on the table. Do not let decorative dried flowers touch food unless you know the plant is edible and was grown and handled for food use.
Dried decorative flowers from florists and craft shops should not be used in drinks, cakes, tea, or meals. They may have been treated with products that are not meant to be eaten.
Do Not Put Dried Flowers Inside Candles
Dried flowers can catch fire. Do not place loose petals, leaves, or flower heads close to a candle flame or inside homemade candles.
The U.S. Consumer Product Safety Commission has recalled botanical candles because dried flowers could catch fire and cause burns.
The U.S. Fire Administration advises keeping candles at least 12 inches away from anything that can burn. A battery-operated candle is a safer option when you want light near a dried flower display.
Keep arrangements away from fireplaces, heaters, hot lamps, cooking areas, and other heat sources.
What to Do When Dried Flowers Become Too Old
Even well-kept dried flowers do not stay perfect forever. Colours fade, petals gather dust, and stems may begin to break.
Small amounts of dust can be removed with a soft brush or gentle air. Do not wipe the petals with a wet cloth.
When the flowers are badly damaged, remove wire, ribbon, glue, plastic, glitter, and other craft materials before considering composting.
The U.S. Environmental Protection Agency explains that home composting uses natural materials such as leaves and garden trimmings. Plain, untreated flowers can usually join similar garden material, but decorated craft pieces should be separated first.
You can also save one good flower from an older arrangement and use it in a card or memory box. The rest can be removed without feeling that the whole gift or event has been forgotten.
Frequently Asked Questions About Drying Flowers
How Long Does It Take to Dry Flowers at Home?
Air drying often takes one to several weeks. Pressing may also take a few weeks, while silica gel can work more quickly depending on the flower and product directions.
The flower type, room humidity, bloom size, and amount of moisture all affect the time. Do not use a flower simply because a certain number of days has passed. Check that every part is fully dry.
Can I Dry Flowers That Have Started Wilting?
You may be able to save flowers that have only started to soften. Remove damaged petals and begin drying them at once.
Flowers that are brown, slimy, mouldy, or dropping most of their petals are unlikely to give good results.
Should I Spray Dried Flowers With Hairspray?
Some people use a light spray to reduce shedding, but it can change the colour, smell, or finish. It may also make future composting less suitable.
Test the spray on one unimportant flower first and use it only in a well-ventilated place. A clear craft product made for dried flowers may give more predictable results when used according to its label.
Can I Dry a Whole Bouquet Together?
You can air dry a small bouquet when the stems and flower heads are similar. Large, tight bouquets should be separated so air can reach the centre.
You may get better results by using different methods for different flowers. Press thin flowers, hang firm stems, and use silica gel for large round blooms.
Why Did My Red Flowers Turn Dark?
Deep red and purple flowers often become darker as they dry. Pale flowers may turn cream or light brown.
This colour change is natural. Starting with fresh blooms and drying them away from strong light may help preserve more colour.
Can Dried Flowers Be Kept in a Bathroom?
Bathrooms are usually too damp. Steam and changing moisture levels can make dried flowers soften, sag, or grow mould.
A bedroom, hallway, living room, or dry home office is usually a better place.
Can I Dry Flowers in Direct Sunlight?
Direct sunlight can speed fading. A shaded, warm, dry place with airflow usually gives better colour.
Sun drying may also make thin petals brittle before thicker parts are fully dry.
Are Dried Flowers Safe Around Pets?
Some plants are harmful to cats, dogs, or other pets whether they are fresh or dried. Keep unknown flowers out of reach and check the plant type before displaying it.
Silica gel, wire, ribbon, glue, and broken stems should also be stored where pets cannot chew or swallow them.
How Long Do Dried Flowers Last?
They may look good for months or longer when kept dry, shaded, and protected from damage. Their useful life depends on the flower and storage conditions.
Fading and small breaks are normal over time. Handle them as little as possible.
What Is the Easiest Flower Project for a Beginner?
A pressed flower bookmark or a small jar arrangement is a good first project. Both use very few materials and do not require a complex layout.
Start with common garden flowers or part of an ordinary bouquet. Save rare or highly meaningful flowers until you have tested the method.